Overview:
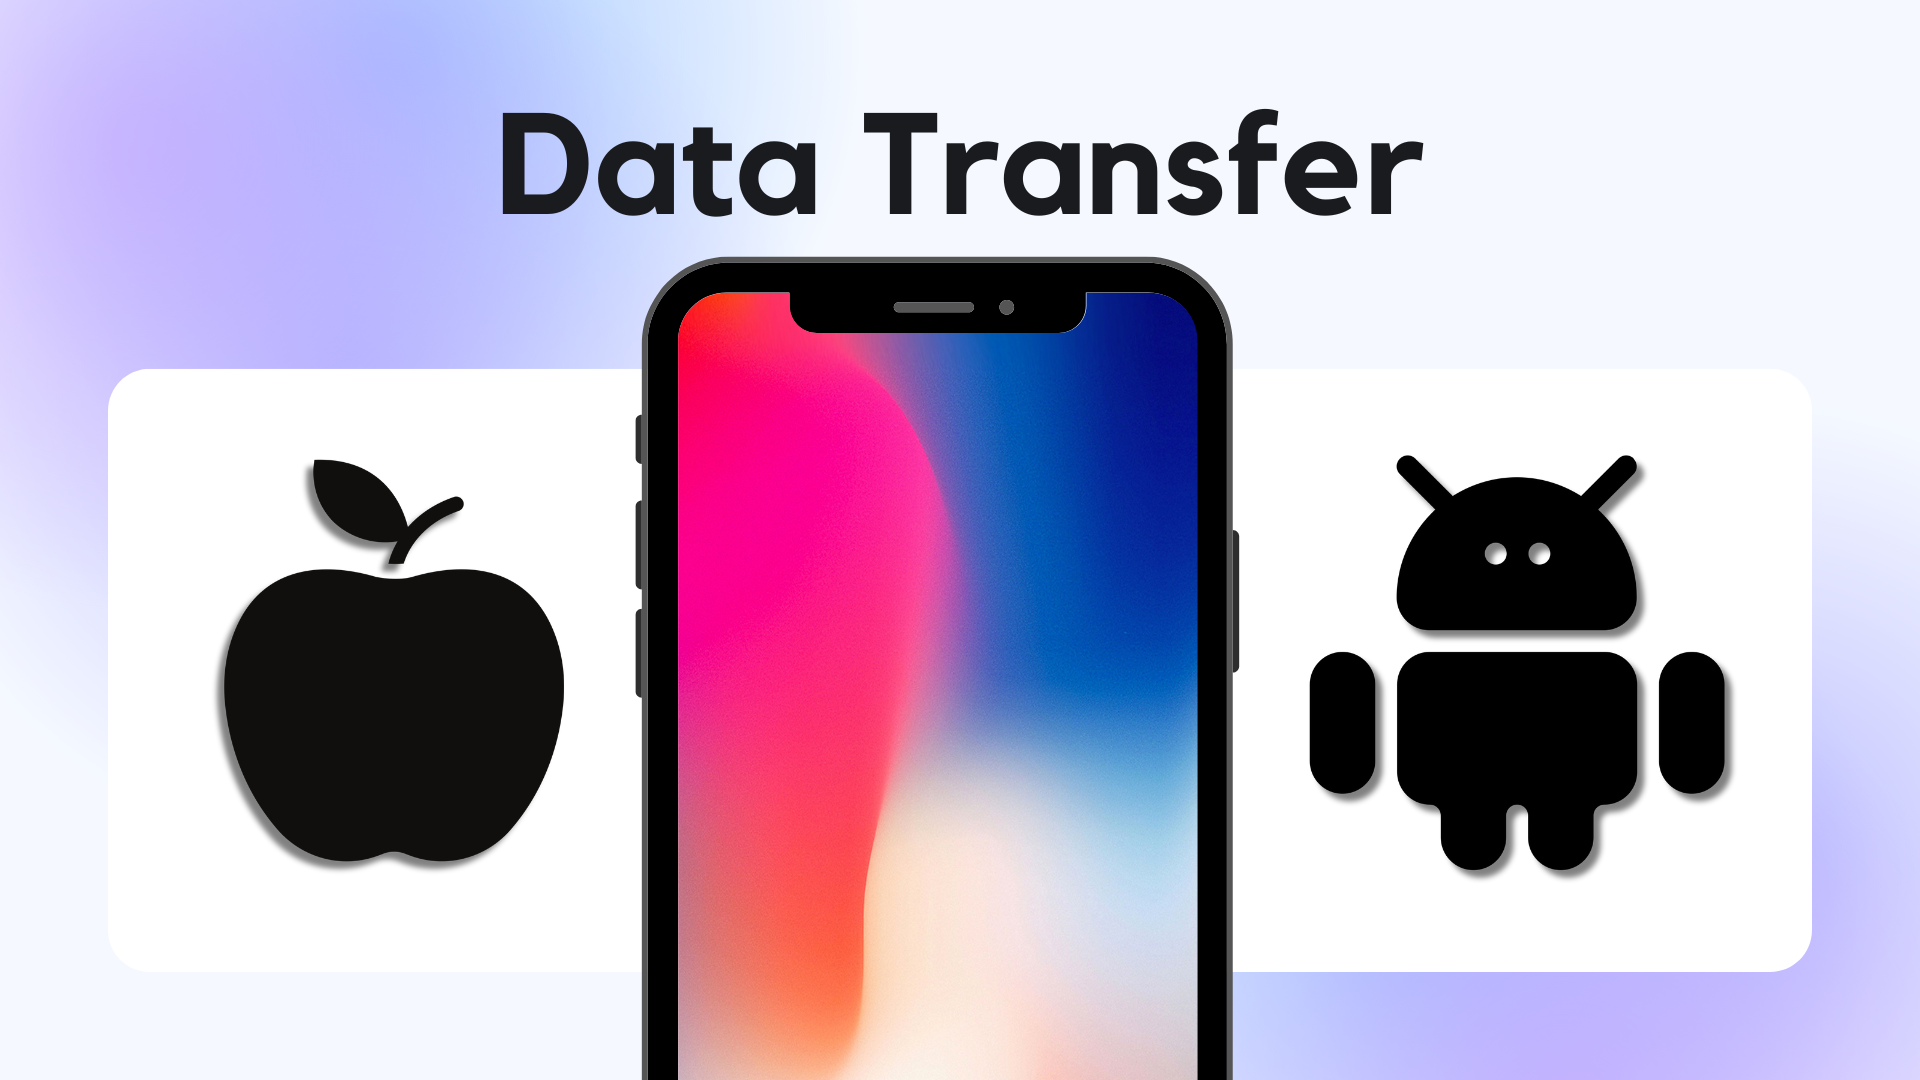
ToggleThe average phone-owner carries a *lot* of data on their device, so what do you do with all of that data when it’s time to make the switch to a new phone? Thankfully, both iPhone and Android offer super-simple ways to transfer your data between devices. Here’s a handy step-by-step guide on how to transfer your data to your new device.
This guide will cover transferring your data:
- from an old iPhone to a new iPhone;
- from an old Android phone to a new iPhone;
- from an old Android phone to a new Android phone, and;
- from an old iPhone to a new Android phone.
Before you begin: Back up your Data
Transferring your data using one of the following methods is its own kind of backup process, but for extra peace of mind you can always back up your data using iCloud, iTunes or Google Drive before you begin.
iPhone to iPhone
Step 1: Power On and Place iPhones Close Together
Turn on both your new and old iPhones and place them side by side. Make sure Bluetooth and Wi-Fi are enabled on both devices. Keeping them close is essential for Quick Start to work.
Step 2: Start Quick Start
On your new iPhone, you’ll see a Quick Start screen offering to set up your device using your Apple ID. Verify that the correct Apple ID is displayed, then tap “Continue.” If you don’t see the option, ensure Bluetooth is turned on for both phones.
Step 3: Connect the Devices
A pattern will appear on your new iPhone’s screen. Use your old iPhone’s camera to scan this pattern when prompted. This step securely connects the two devices. After scanning, you’ll be prompted to set up Face ID on your new iPhone and transfer settings like location, privacy, Siri, and Apple Pay.
Step 4: Transfer Your Data
Select “Transfer from iPhone” to begin moving your data from the old iPhone to the new one. This can take some time, depending on how much data you have. Keep both devices close to each other and, if possible, connected to a power source during the transfer.
Android to iPhone
When you first turn on your new iPhone, you’ll be guided to set up the device. During the setup process, you’ll be asked if you want to transfer data from an Android device.
On your Android device, you’ll need to download and install the “Move to iOS” app. This will allow you to quickly and easily move your data from your Android device to your new iPhone, just as though it were an iOS device.
What Can I Do with My Old Phone?
After you’ve transferred your data, you may be wondering what you can do with your old device, especially if it’s still in good condition. Luckily, at The Big Phone Store we can give you an instant quote on how much your old device could be worth, even if it’s broken! Trade-In with us and you could get paid the same day!
Android to Android
Step 1: Connect Both Phones
Start by powering on both your new and old Android phones. As you begin setting up your new phone, you’ll come across an option called “Set up using another device.” This feature simplifies the data transfer process.
You’ll see a screen that asks you to keep your old phone nearby and unlocked. Look for the “transfer” icon in the corner, with two phone outlines—one with a blue triangle and the other with a green gear. This confirms you’re in the right place to start the wireless data transfer.
Step 2: Select Your Data
Follow the on-screen instructions to activate your SIM (if needed) and add your Google Account to your new phone. This step ensures your device is ready to receive data and work with your service provider and Google services.
Next, you’ll see the “Choose what to copy” screen. Here, you can pick exactly what you want to transfer from your old phone, such as apps, contacts, photos, videos, and more. As the transfer starts, you’ll see a progress bar showing how much data has been moved.
Step 3: Transfer Data
Once you’ve selected what to transfer, the process will take care of itself. Your new Android phone will start receiving the data wirelessly from your old device.
And that’s it! Your new phone will soon be ready to use with all your important data transferred over.
iPhone to Android
If you still have the Lightning to USB-C cable from your iPhone:
Plug one end of your old iPhone cable into the iPhone, and the USB-C end into your new Android phone. On your Android phone, follow the instructions on-screen to transfer your data.
If you cannot use a cable to transfer your data:
Turn on your new Android phone. When prompted to use a cable, choose “no cable”. Your Android phone will guide you to set up and use the “Switch to Android” app on your iPhone to transfer your data.
Now you can enjoy all your music, videos and data- but on your new device!
