12 Camera Settings to Improve Photo Quality

Improve photo quality

Who doesn’t want better images? With just a few tweaks, you can turn your smartphone camera into a photographic powerhouse. Here’s how you can improve photo quality without breaking a sweat!

1. Resolution Settings

Increase Resolution: If your camera allows it, set the resolution to the highest option available. Higher resolution means more detail in your photos, which is especially useful for printing or cropping later. Images taken at a higher resolution will look sharper and more vibrant. 

--------------------------------------------
Click the link for Unbeatable Mobile Phone Deals You Won't Want to Miss!
--------------------------------------------

However, keep in mind that higher-quality images take up more storage space on your device. So, if you’re planning to take a lot of high-resolution photos, make sure you have enough space!

2. Aspect Ratio

Choose the Right Aspect Ratio: Most smartphones let you change the aspect ratio (like 4:3, 16:9, or square). The standard 4:3 ratio is great for general photography, providing a balanced view that works well for portraits and landscapes. 

The 16:9 ratio, on the other hand, is ideal for videos and panoramic shots, making your scenes appear wider and more cinematic. 

Selecting the right aspect ratio helps frame your subject better and enhances the overall composition of your photos.

HDR (High Dynamic Range)

Enable HDR: Turn on HDR mode for high-contrast scenes, especially when shooting in bright conditions. This setting combines multiple exposures—capturing details in both the bright and dark areas of the image—to create a more balanced photo. 

HDR is particularly helpful in outdoor settings, like landscapes or cityscapes, where you might have bright skies and dark shadows. 

You’ll notice that enabling HDR results in more vibrant colours and clearer details, making your photos look more professional.

Enable hdr to improve photo quality

4. ISO Settings

Adjust ISO Manually: If your camera app has manual controls, tweaking the ISO can significantly enhance image quality in various lighting conditions. 

A lower ISO (like 100-400) is ideal for bright environments, reducing the chance of grainy images. 

In contrast, a higher ISO (800+) is beneficial for low-light situations, allowing your camera to capture more light. However, be cautious—while a high ISO can brighten your images, it may also introduce noise (graininess), so, use it when needed but be careful!

Experiment with different ISO settings to see what works best for your shooting conditions!

5. Shutter Speed

Control Shutter Speed: If your camera allows it, experiment with shutter speeds to influence how motion is captured in your photos. 

Slower shutter speeds are great for low-light photography, allowing more light to hit the sensor and brightening the image. However, be mindful that slow shutter speeds can lead to motion blur if your subject is moving. 

On the other hand, faster shutter speeds freeze motion, making them ideal for capturing fast action—like sports events or children playing. 

Understanding how to control shutter speed can help you achieve the desired effect in your shots.

6. Focus Settings

Use Manual Focus: If your camera app offers a manual focus option, take advantage of it to ensure your subject is sharp and in focus. 

This is especially useful in macro photography, where you’re capturing small details up close. 

Manual focus can also help in challenging situations where auto-focus might struggle, such as low-light environments or busy backgrounds. 

By adjusting the focus yourself, you have complete control over what elements are highlighted in your images, allowing for more creativity.

Looking to upgrade? Check out our post on the Cheapest Phones with Good Cameras!

7. White Balance

Adjust White Balance: Setting the correct white balance is crucial for ensuring that colours appear natural in your photos. 

Most cameras have an auto white balance setting that works well in many situations, but for the best results, consider adjusting it manually based on your lighting conditions. 

For instance, use “Sunny” for bright outdoor shots, “Cloudy” for warmer tones on overcast days, or “Fluorescent” to counteract the cool light from artificial lighting. 

Properly adjusting white balance helps avoid unwanted colour casts and enhances the overall look of your images.

8. Shooting Modes

Explore Specialized Modes: Many smartphones come with various shooting modes, such as Night, Portrait, or Macro. 

Each mode is designed to optimise camera settings for specific scenarios. For example:

  • Night mode is tailored for low-light photography
  • Portrait mode creates a beautiful depth-of-field effect, blurring the background and keeping the subject in focus.
  • Macro mode is perfect for capturing intricate details of small objects.

Take the time to explore these modes and see which ones enhance your photography based on your environment.

9. RAW Format

Shoot in RAW: If your camera offers it, consider shooting in RAW format instead of JPEG. RAW files contain more data, allowing for greater flexibility in post-processing without sacrificing image quality. 

This format is particularly beneficial for serious photographers who want to edit their images extensively, as it preserves more detail and dynamic range. 

Warning: Keep in mind that RAW files take up significantly more storage space than standard JPEG files, so be sure you have enough memory available on your device!

10. Turn Off Digital Zoom

Avoid Digital Zoom: Digital Zoom can reduce the quality of your images, making them appear pixelated. 

  • Instead of relying on this feature, try to physically move closer to your subject for a clearer shot. 
  • If your phone has optical zoom capabilities, use that instead, as it maintains image quality and delivers sharper photos. 
  • Moving closer or using optical zoom is always preferable for capturing detail.

11. Camera Lens Options

Use Additional Lenses: If your smartphone supports it, consider using extra lenses, such as wide-angle or macro lenses. 

These additional lenses can enhance your photography versatility, allowing you to capture a broader range of subjects and scenes. 

For example, a wide-angle lens is perfect for landscapes or large group photos, while a macro lens allows you to focus on fine details, like flowers or small objects, that would otherwise be difficult to capture.

Phone lenses

12. Stabilisation Settings

Enable Stabilisation: Many smartphones come with optical or electronic image stabilisation features. Make sure this option is turned on to reduce shake and blur in your images. 

Stabilisation is particularly important when shooting in low light or during movement, helping to keep your photos steady and clear. 

This feature enhances the overall quality of your images, especially for videos or handheld shots.

By adjusting these settings, you can significantly enhance the quality of your photos and take full advantage of your smartphone camera’s capabilities. 

Don’t hesitate to experiment with these features to find the best configurations for your shooting style and environment. 

Just remember that higher quality images and 4K video will take up more storage space, so keep an eye on your device’s memory.

Glossary

  • Resolution: The amount of detail an image holds, usually measured in pixels. Higher resolution means more detail but requires more storage space.
  • Aspect Ratio: The ratio of the width to the height of an image affects how the image is framed. Common ratios include 4:3 and 16:9.
  • HDR (High Dynamic Range): A technique that combines multiple exposures to capture a wider range of light and detail in both bright and dark areas.
  • ISO: A measure of the camera sensor’s sensitivity to light. Lower ISO values are used in bright conditions, while higher values are used in low-light situations.
  • Shutter Speed: The length of time the camera’s shutter is open to expose light onto the sensor. Faster shutter speeds freeze motion, while slower speeds can blur movement.
  • White Balance: A setting that adjusts the colours in your photos to ensure they appear natural under different lighting conditions.
  • RAW Format: An image file format that retains all data from the camera sensor, allowing for more extensive post-processing compared to JPEG files.
  • Digital Zoom: A method of enlarging an image electronically, which can result in lower quality. It’s better to move closer to your subject or use optical zoom if available.
  • Optical Zoom: A type of zoom that uses the camera lens to bring the subject closer without losing image quality.
  • Stabilisation: A feature that reduces camera shake, resulting in clearer, sharper images, particularly in low light or during movement.
-------------------------------
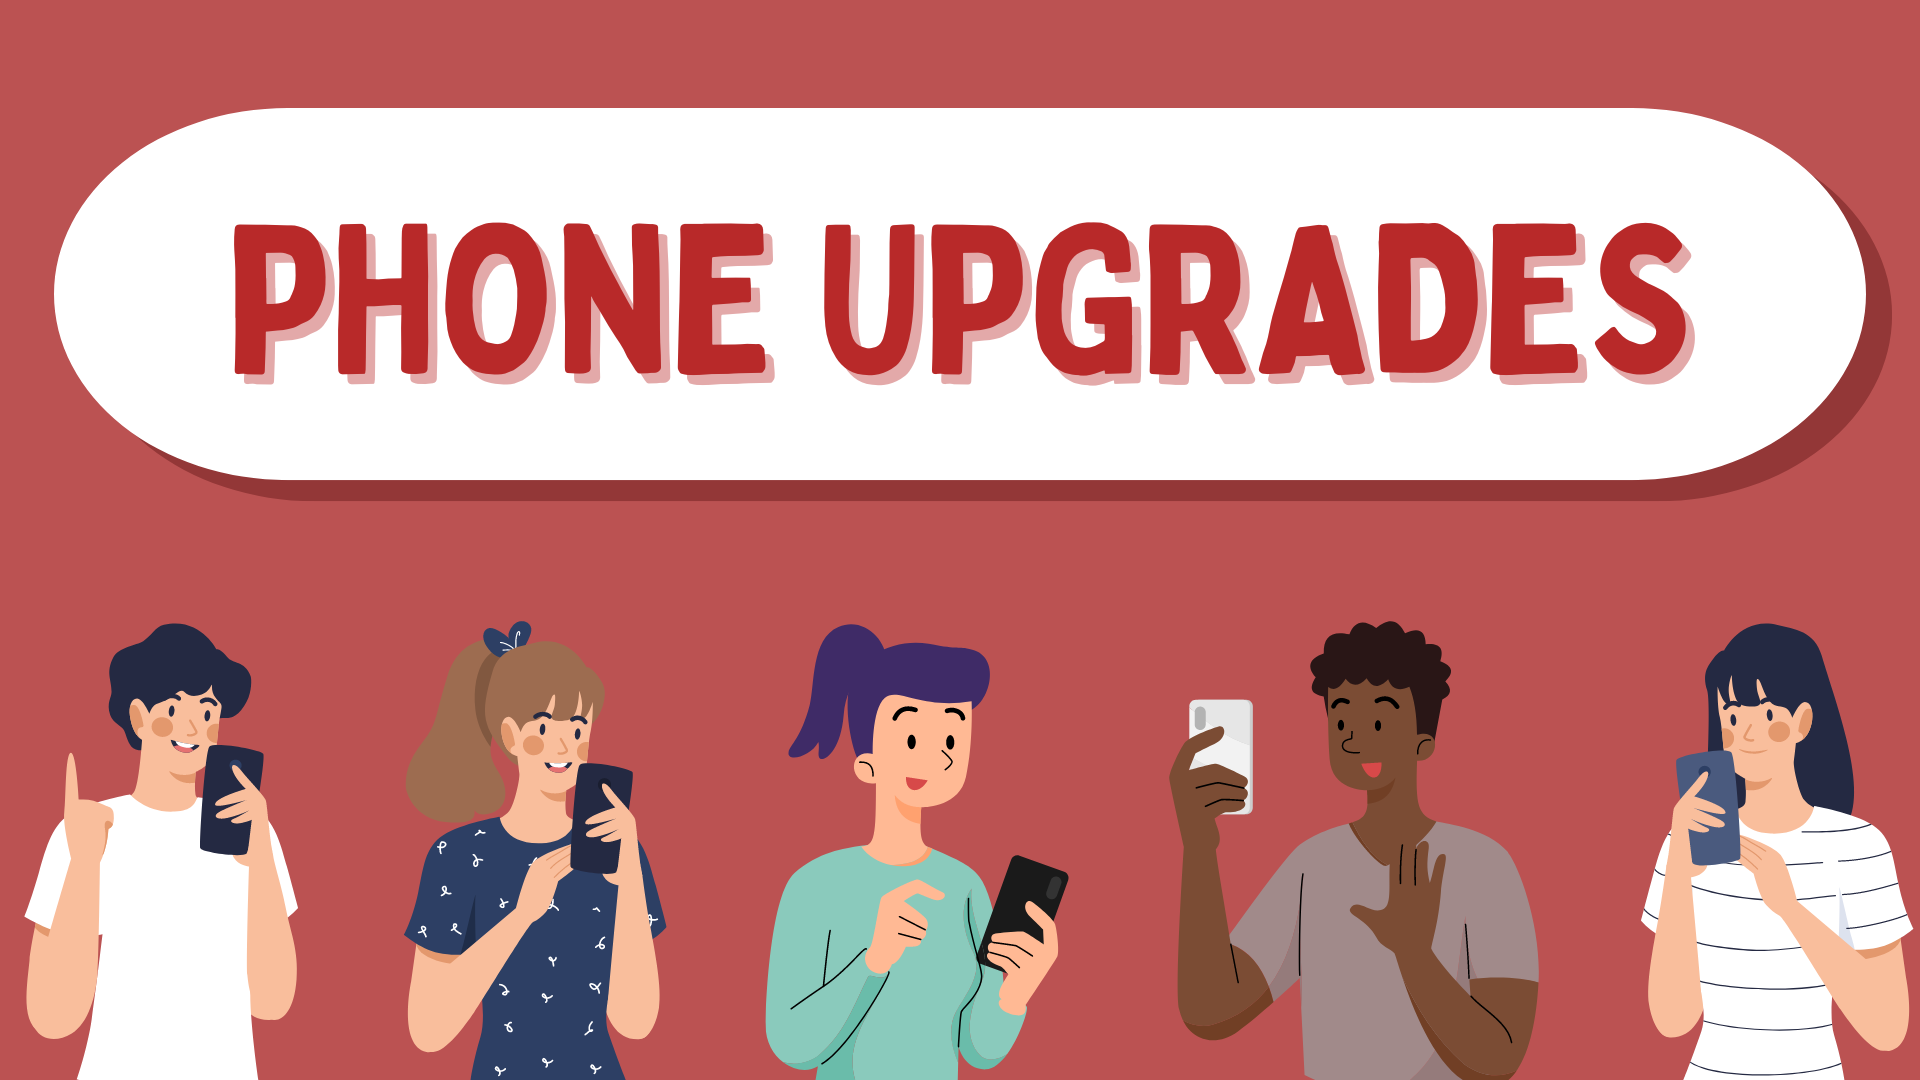
Upgrade today by selling your old device! Click on the links to find out value of your mobile phone and how to 'Sell My Phone,' benefit from 'Phone Trade-In' or 'iPhone Trade-In' for the best value.
-------------------------------